TIS Board - Dynamic selection for Editable Grid
Summary
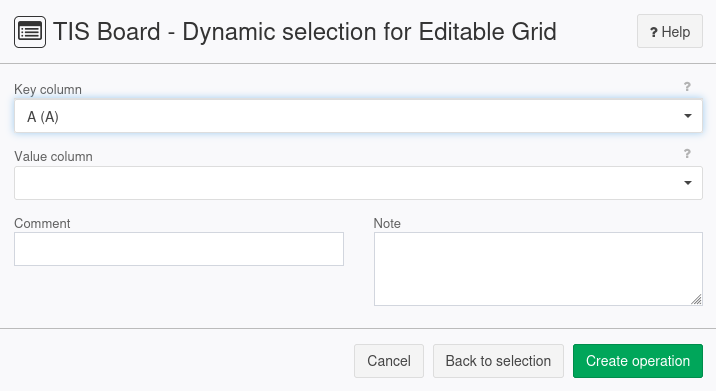
Provides the data for a dynamic selection list in an Editable Grid (Portlet).
If the data for this selection is changed, the data node with this operation must remain out-of-date in order for the portlet to notice the change.
Task | Screenshot |
|---|---|
Create a Data Node that provides the selection list using TIS Board - Dynamic selection for Editable Grid operator. |
|
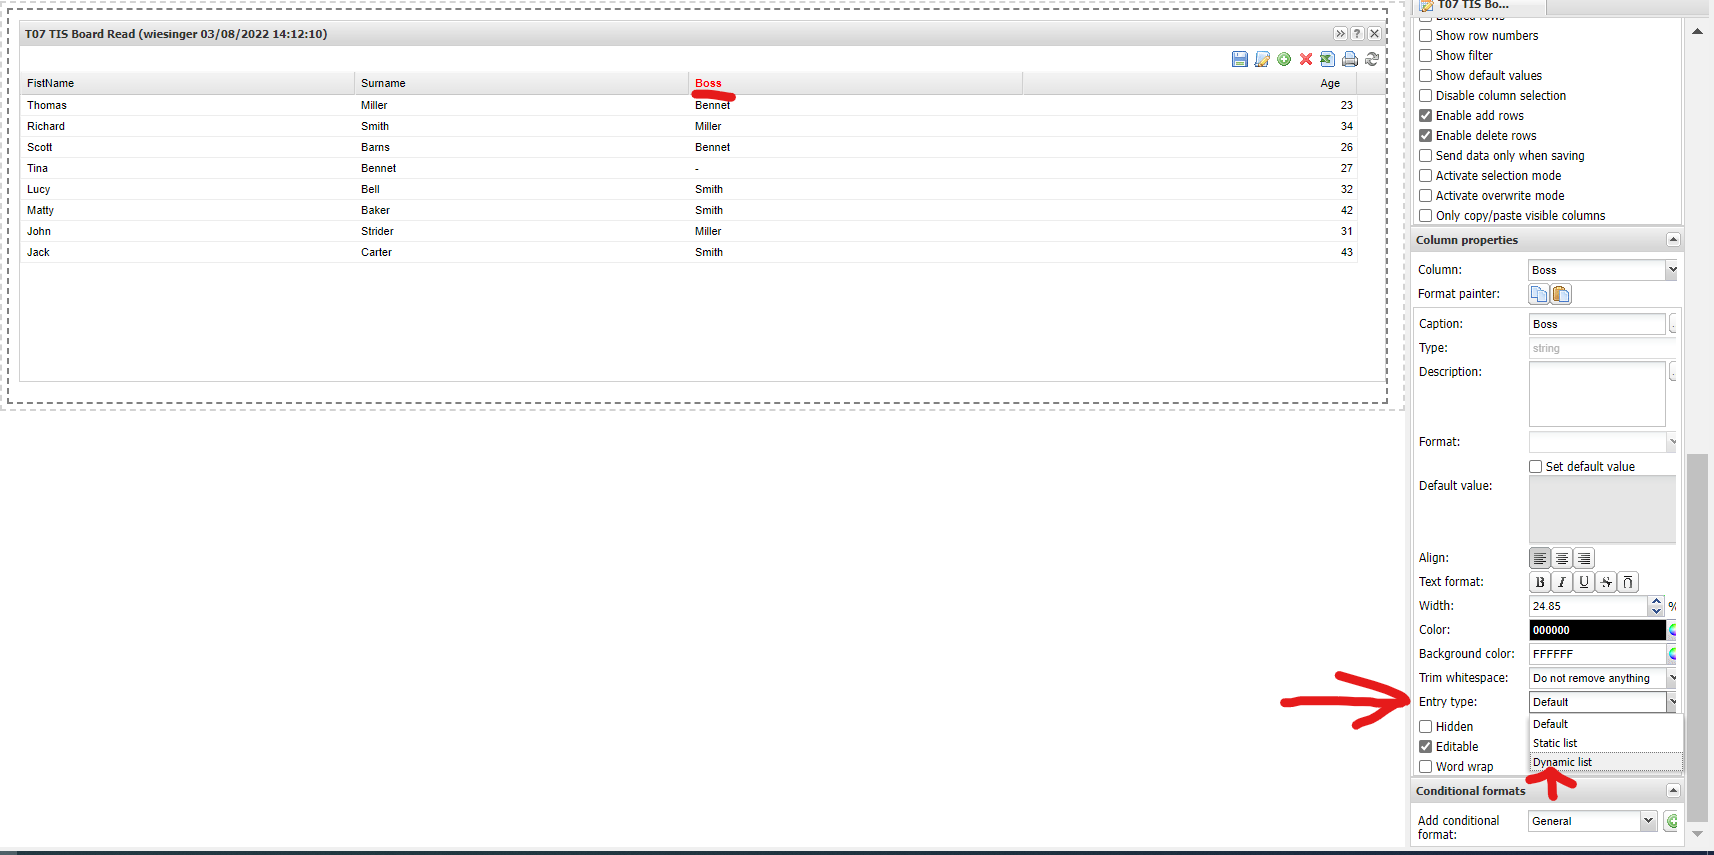
Select Dynamic list in the column's properties of the Editable Grid (Portlet). |
|
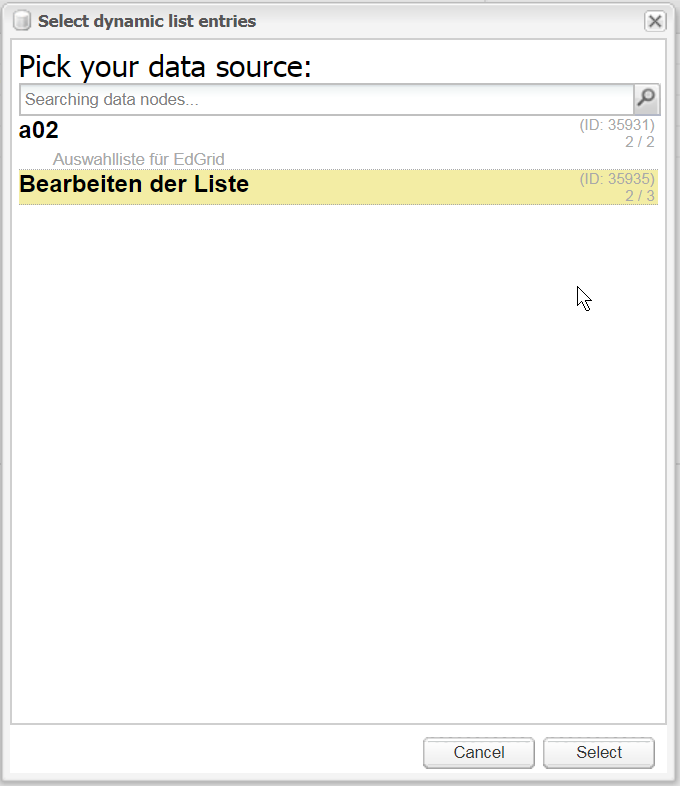
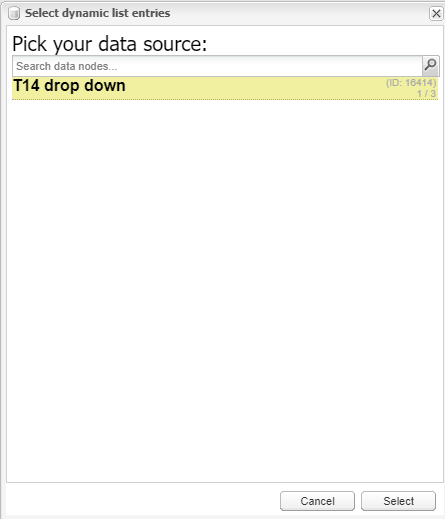
Click Select and select the data node which provides the selection list. |
|
Configuration
Input settings of existing table
Name | Value | Opt. | Description | Example |
|---|---|---|---|---|
Key column | System.Object | - | Column containing the keys which are stored. | - |
Value column | System.String | - | Column containing the values which are displayed. | - |
Setting
Parameter | Value | Opt. | Description | Example |
|---|---|---|---|---|
INDEXKEY | System.Int32 | - | Index key | - |
INDEXVALUE | System.Int32 | - | Index value | - |
COLUMNTYPEKEY | System.Int32 | - | Type of column Key | - |
Want to learn more?
Screenshot

Examples
Example: Drop down menu
Situation | This example shows you how to use the operator "TIS Board - Selection list for editable data table" in the "TIS Board" First you need 2 tables one will be the table you want and the other one will be the "drop down menu" itself. Main table:
Menu table
|
|---|---|
Settings | Now you create the operator in the data node
And the click on "TIS Board"
Now a blue plus sign should pop up.
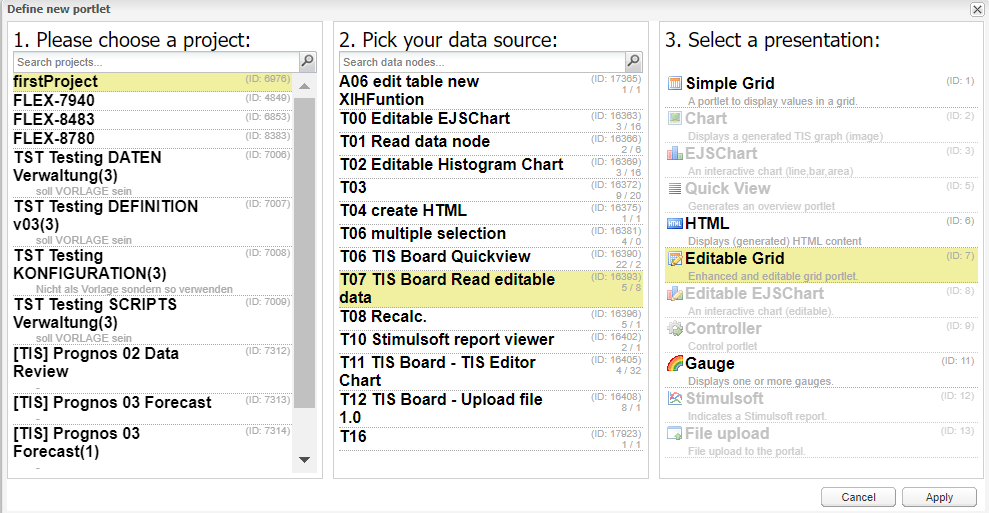
Please click on the plus sign to create a new portlet. After connecting to the "TIS Board" please select you project then your data source then "Editable Grid" and click on apply.
Now we want to click on the column that we want to edit later with the drop down menu in our case it is the "Boss" column. Then we scroll all the way down the "portlet properties"
We click on the drop down menu and select "Dynamic list". Click on select:
and we select the data node of our menu table.
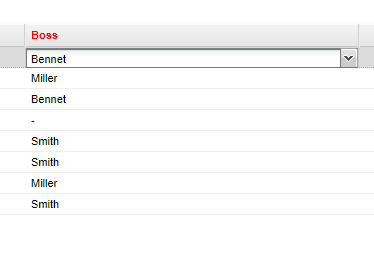
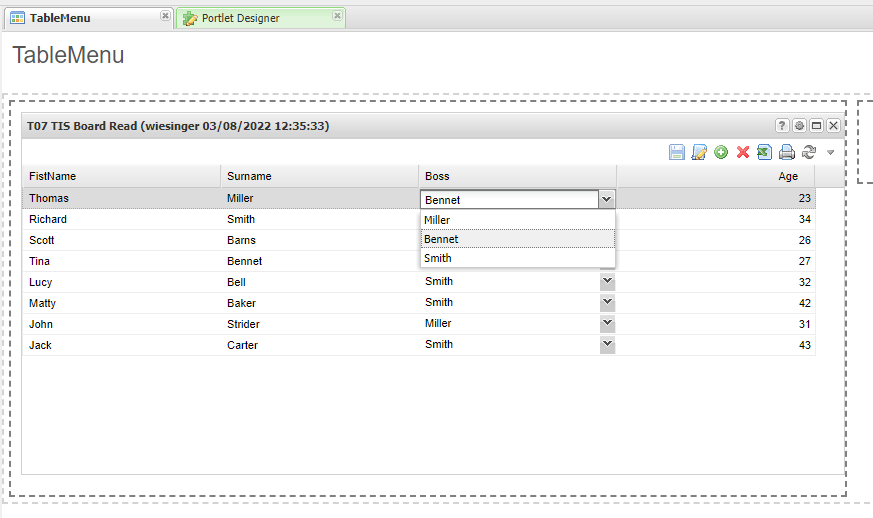
Now if we click at any row in our "Boss" column we are able to see the menu. But we are not able to interact with it, because we need to save it first.
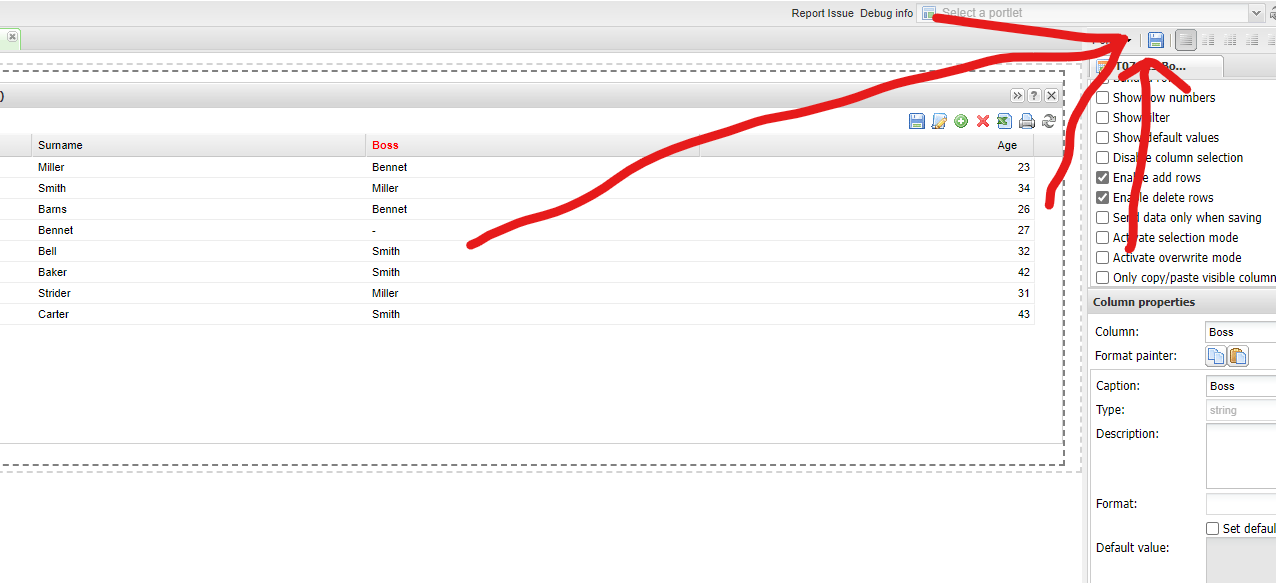
To save the portlet click on save and select a folder that you want the portlet to be saved in.
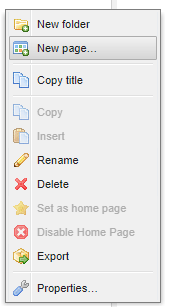
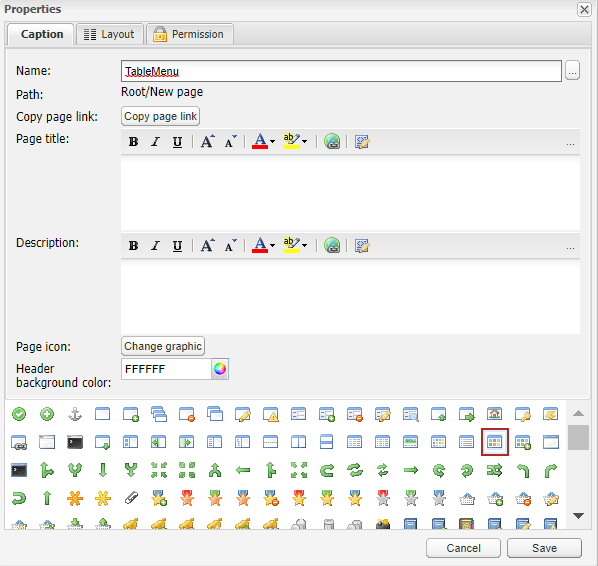
Now you need to create a page by clicking on the left side in the "Pages" tab and select "New page".
Name you page and save it.
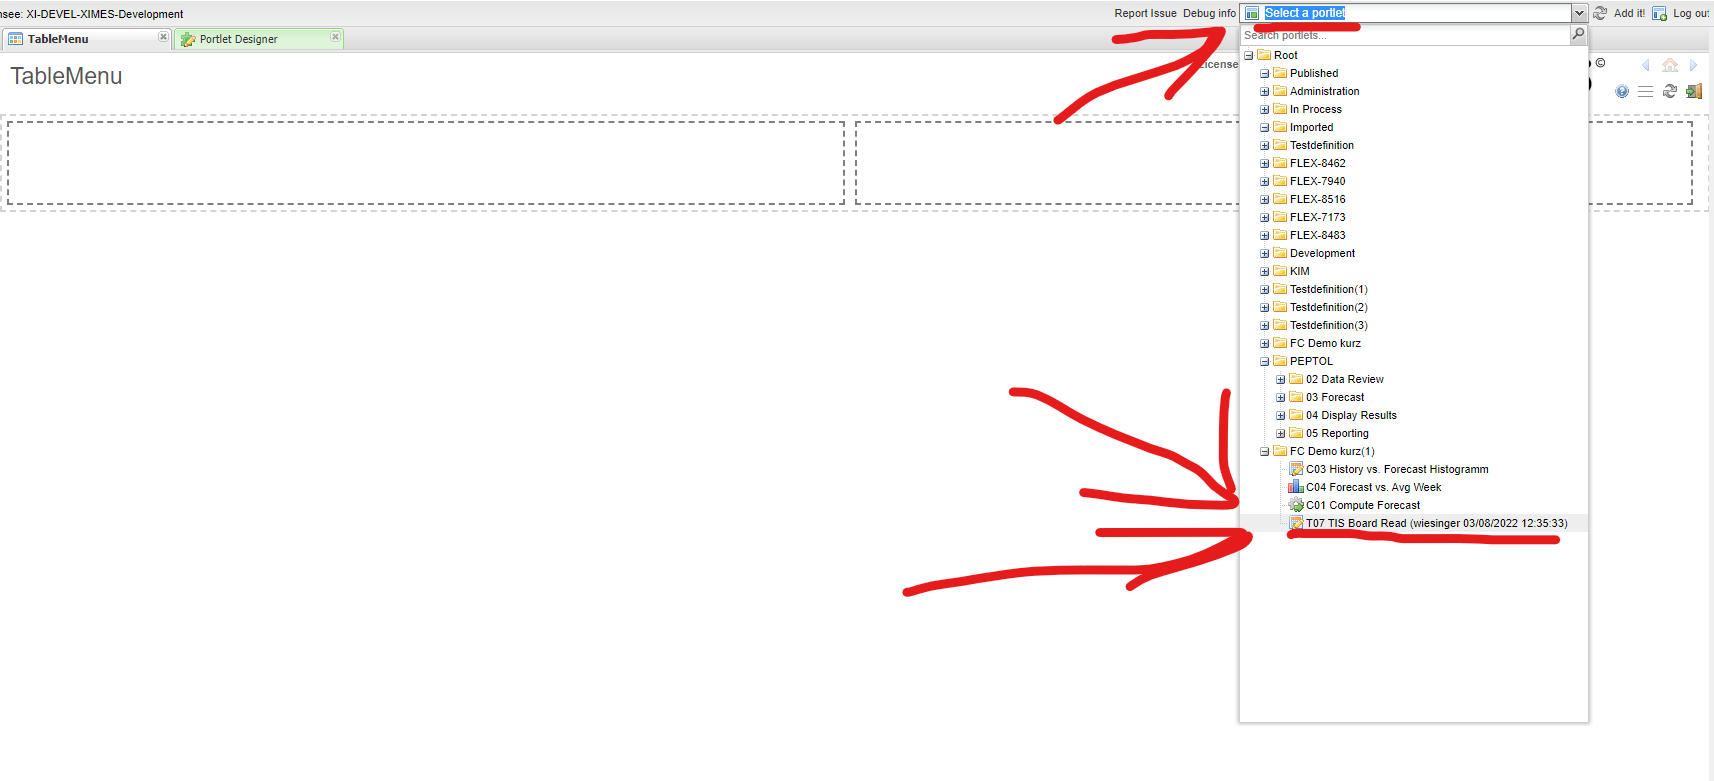
Now click on select a portlet and select our portlet.
and click on "Add it!"
|
Result | Now we can choose who the boss is.
|
Project File | - |
Troubleshooting
Nothing known up to now.

