TIS Board - Upload file 1.0
Summary
Operator that allows to upload a file as TIS File using the TIS Board.
Please see File Upload (Portlet) for a description of how to use this operator.
Configuration
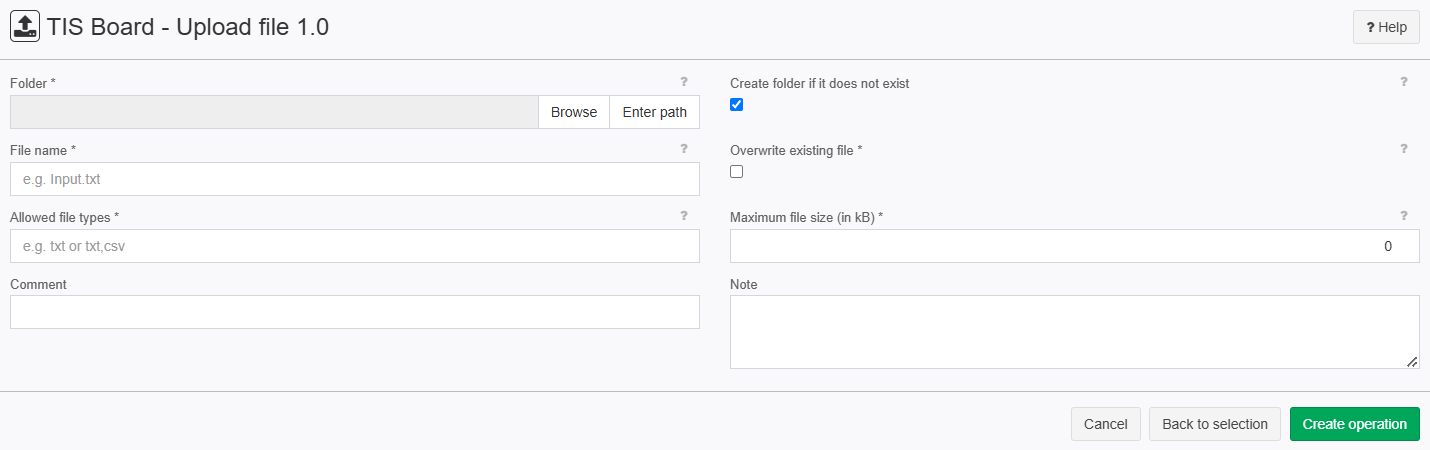
Settings
Name | Value | Opt. | Description | Example |
|---|---|---|---|---|
Folder | System.String | opt. | Name of the folder. | - |
or enter folder | System.String | opt. | Name of the folder, parameter possible. E.g.: Folder1\#XI.TISPar('Par1')#\Folder3 | - |
Create folder if it does not exist | System.Boolean | - | A new folder or the entire path will be created if it does not already exist | - |
File name | System.String | opt. | Name of the file in TIS file system | - |
Overwrite existing file | System.Boolean | opt. | Should an existing file with the same name be overwritten or not. | - |
Allowed extension | System.String | opt. | Allowed file types. | - |
Maximum file size (in kB) | System.Int32 | opt. | Maximum size of the file (0 means no limit) | - |
@SAVEVALUES | System.String | opt. | - | - |
Want to learn more?
Operator that allows to upload a file into the TIS TIS File using the TIS Board.
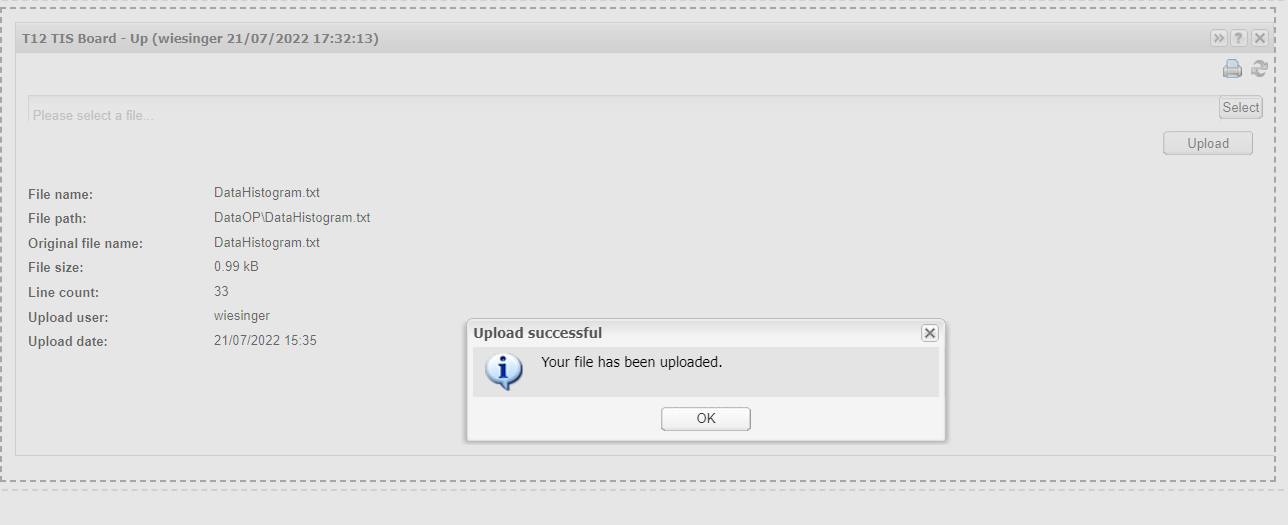
Screenshot
Examples
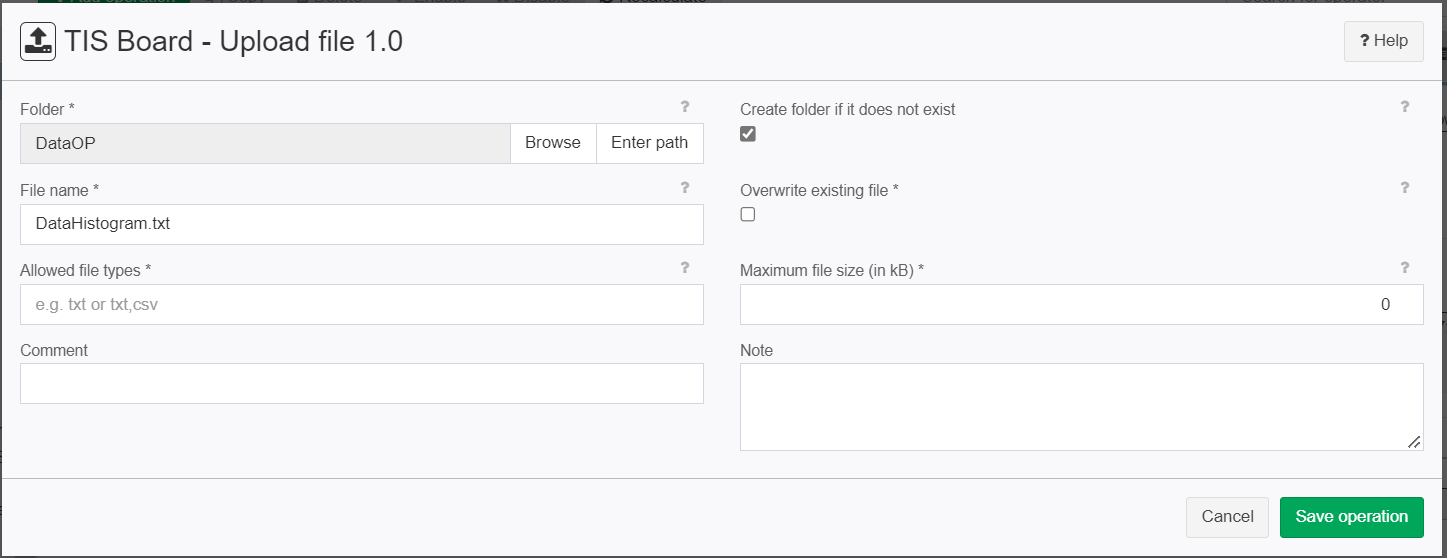
Example: Uploading file via TIS Board
Situation | This example shows you how to upload a file using the TIS Board |
|---|---|
Settings | Fist off we need to use the operator to specify the folder name where the file should be uploaded and the file name.
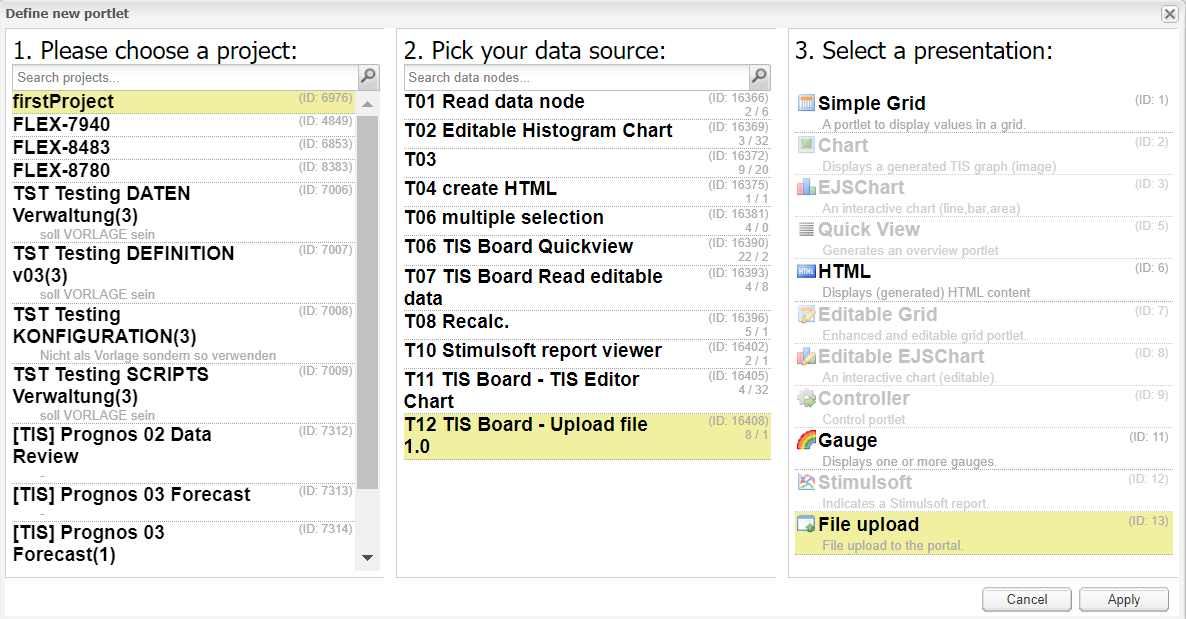
After we save the operation we need to open the "TIS Board". This can be done by clicking on the "TIS Board" checkbox.
Now a blue plus sign should pop up.
Please click on the plus sign to create a new portlet. After connecting to the "TIS Board" please select you project then your data source then "File Upload" and click on apply.
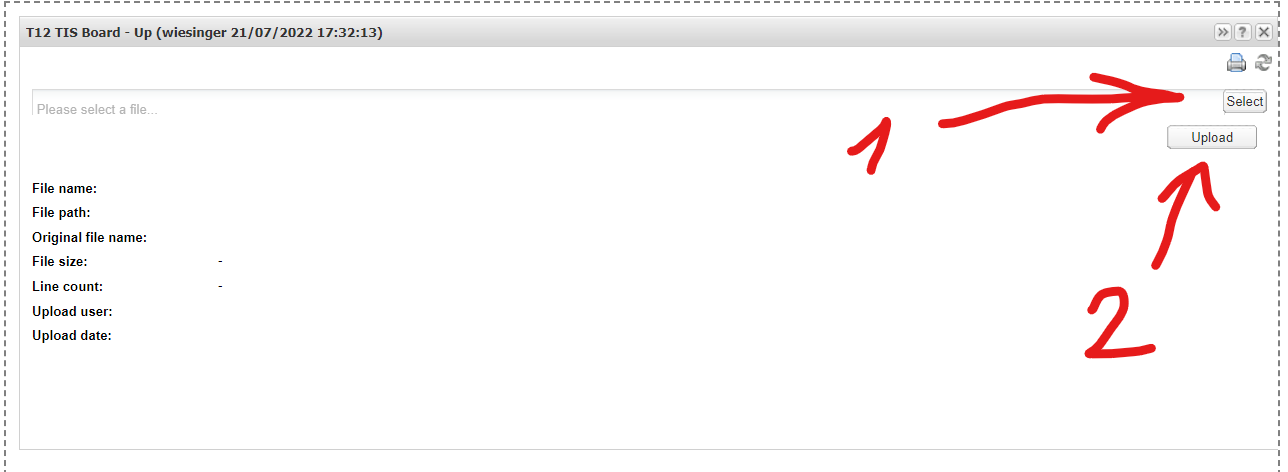
Now we need to select a file (1) and then upload it (2).
|
Result |
Now we can check in the "TIS Files" if it really was uploaded.
|
Project File | - |

Troubleshooting
Nothing known up to now.