Editable Grid (Portlet)
Summary
This portlet displays a grid with data from a TIS Table. It allows to edit the data in the TIS Table, e.g., to change values, to add or delete rows, or to change the order of the rows. Data can also be copied into the editable grid from Excel (see Copying Data between Excel and TIS Board).
The following figure depicts the communication between TIS Editor, the TIS Table, and the TIS Board for this portlet. In TIS Editor, two data nodes are involved, one (init node) writes a TIS Table with the Generate editable data table 4.0 operator and the other (read node) applies the Read editable data table 5.0 operator to read the TIS Table. The Editable Grid Portlet reads the data from the TIS Table and modifies the TIS Table directly.

Conflicts can occur when the table is edited by both, the Generate editable data table operation of the init node in TIS Editor and by the Editable Grid. In particular, when the init node is set to Automatic update (see Update process between data nodes), changes in an ancestor of the init nodes triggers the operation which overwrites data entered from the Editable Grid Portlet. Also, the operation can be triggered by an event from TIS Board, e.g., in order to create a new TIS Table with some user's name on Logon. The following options deal with this problem.
- Set parameter "Create only new table" in Generate editable data table 4.0 operator to true: The TIS Table can never be overwritten by the Generate editable data table operation.
- Set Update option in init node to "Manually": Changes from the Editable Grid Portlet can only be overwritten manually.
- Set Update option in init node to "Fixed": No changes can be made from either TIS Editor or the Editable Grid (changes in the Grid will be lost).
Example
Task |
Actions |
|---|---|
Prepare in TIS Editor Step 1 |
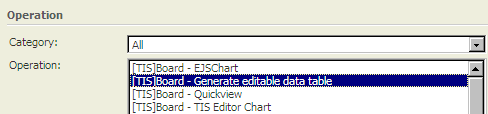
Prepare the initial table for the editable grid in a data node (init node) in TIS Editor and write it to a TIS Table with the operator TIS Board - Generate editable data table 4.0. Enter a folder and a name for the TIS Table (can be a parameter) and check the option "Create only new table" if you do not want this operation to overwrite the table.
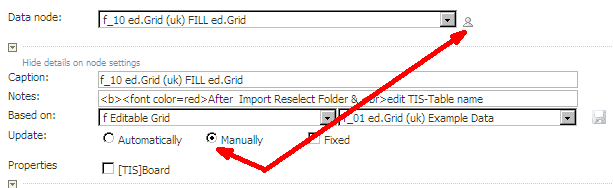
Set the Update option to "Manually" if "Create only new table" was left unchecked and you do not want the table to update automatically (hence overwrite changes from the Editable Grid). The table can still be updated manually (changes overwritten).
|
Prepare in TIS Editor Step 2 |
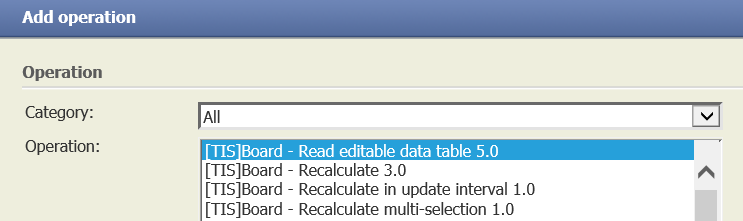
Create an empty data node (read node) and add the operator TIS Board - Read editable data table 5.0. Enter the folder and name of the TIS Table created in Step 1. |
Prepare in TIS Editor Step 3 |
Switch on the symbol for TIS Board connection in the read node.
|
Create in Portlet Designer Step 1 |
Create a Portlet, choose the TIS Editor project and the read node created previously, select Editable Grid portlet. |
Create in Portlet Designer Step 2 |
Save portlet |
Edit in Portlet Designer |
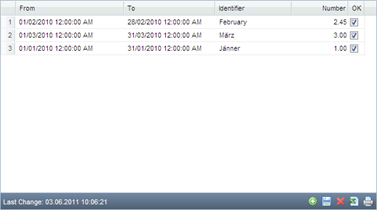
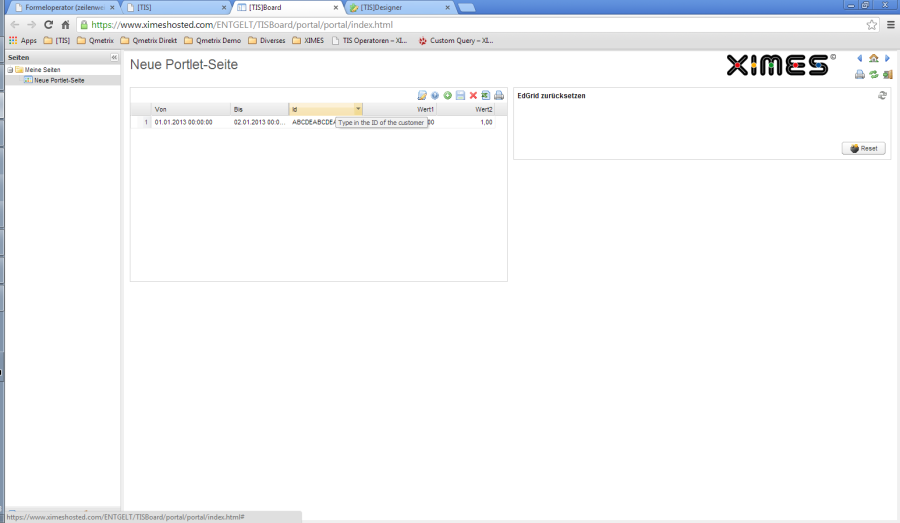
See Description in Formatting and Working with Portlets and Conditional Formatting for Grids. Do not forget to save The result is something like this:
Please note that you can navigate with tabs and cursor. |
Save and close |
Save the changes of this Portlet and close it in the Portlet Designer. |
TIPS |
The Controller Portlet allows to manage the update and retrieval of data from an editable grid. |
TIPS |
If you want to have an empty table that should be filled by the user from the Editable Grid do the following:
|
See section Settings below for additional options. |
|
TIPS |
HELPTEXT IN GERMAN <font size="1"> HELPTEXT IN ENGLISH <font size="1"> |


Shortcuts and keyboard control
See also Keyboard Shortcuts
Data Type |
Input |
Interpretation |
|---|---|---|
Date |
21 |
DD → 21.01.2018 using today's date |
Time |
3 |
HH → 03:00 |
320 |
HH:MM → 03:20 |
|
DateTime |
||
Want to learn more?
Settings
Column description |
A data column a description can be given that appears as a tool tip in the TIS Board.
|
|||||||||||||||||||||||||||
Forced Line Break |
If Force Line Break option is activated then lines wrap at the column's width. If not activated then long lines show ellipsis (...) at the end in order to fit the column's width. Newline control characters in the input string
|
|||||||||||||||||||||||||||
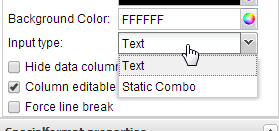
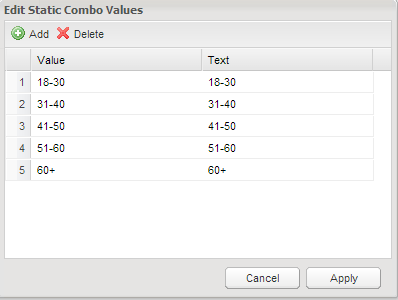
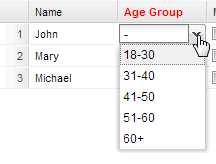
Combo Boxes (static list) |
Combo Box allow the inputs of predefined values. |
|||||||||||||||||||||||||||
Combo box (dynamic list) |
TIS Board - Dynamic selection for Editable Grid provides data for selection. |
|||||||||||||||||||||||||||
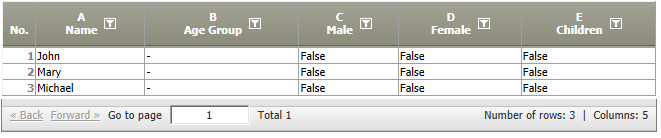
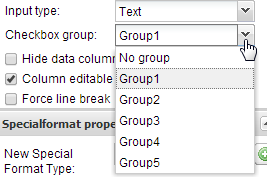
Radio Buttons |
This is the functionality if two columns with true/false values exclude each other (e.g. male/female) |
|||||||||||||||||||||||||||
|
Automatically or manually Save |
Users can choose if data is automatically sent to the database or if it is sent only at clicking the save button. |
|||||||||||||||||||||||||||
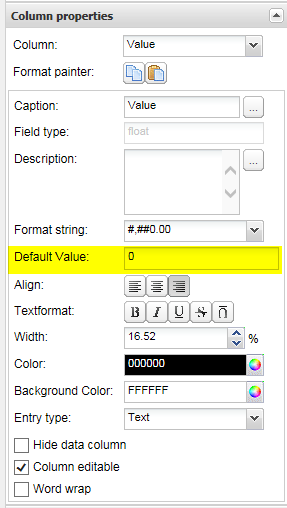
Default Values |
Default values can be defined for new rows in the Portlet Designer. |
|||||||||||||||||||||||||||
Static Combo |
Content that will be pasted via copy/paste will be checked if there is a static combo in one of the columns. |
|||||||||||||||||||||||||||
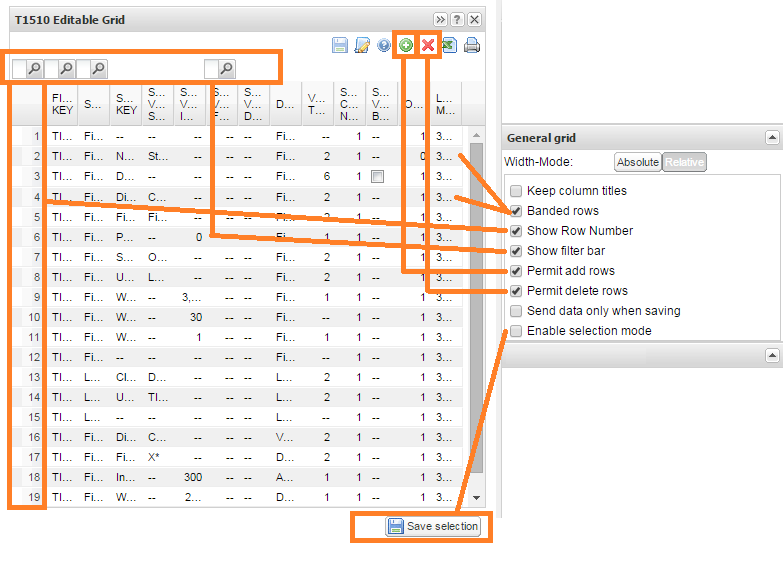
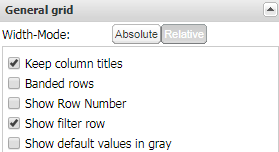
General Properties |
|

Examples
Troubleshooting
Problem |
Frequent Cause |
Solutions |
|---|---|---|
Editable Grid does not work |
Instead of the retrieval node, the fill node has the property |
Switch on the other node |
Several operations follow immediately after Retrieval |
Make additional nodes to separate the operations |
|
Cannot edit Editable Grid |
Portlet designer is open and portlet is not saved |
Save the portlet |
User rights are not properly set in TIS Board |
Obtain the necessary rights |
|

Also see Conditional Formatting for Grids.